Wah heng ah. Got read this abstract before exam.
A. Borgeat1 , O. H. G. Wilder-Smith1, P. Jallon2 and P. M. Suter1
(1) Department of Anaesthesiology, Geneva University Hospital, 24 Rue Micheli-du-Crest, CH-1211 Geneva 14, Switzerland
(2) Department of Neurology, Geneva University Hospital, 24 Rue Micheli-du-Crest, CH-1211 Geneva 14, Switzerland
Abstract Status epilepticus is one of the most frequent neurological emergencies in the intensive care unit. Standard treatment includes intravenous barbiturates, benzodiazepines and phenytoin. However, drug coma is sometimes necessary to control refractory status epilepticus. We report such a case, successfully treated by intravenous propofol coma to EEG burst suppression
Intensive Care Medicine Volume 20, Number 2 / February, 1994 0342-4642 (Print) 1432-1238 (Online)
Wednesday, May 02, 2007
OJ's opinion on topical plant applications (white oil)
Not suitable for minis yyy?
- White oil is a very thick emulsion that acts as an occulsive layer to block out air when sprayed on to pests and can be used prophylatically to prevent infestation from sucky insects. But then hor, the layer will be quite thick. Also amazing insects can still suck under the thick oil coating - so by the time they die, they also suck finish. Mini orchid so small only got limit things to suck.
- Since layers need to be thick - especially at junctions of plants where thick layers may form, plant chao tar easily.
My protocol:
- If possible, apply diluted surfactant onto affected area to wipe out most of the insects. recommended are chloroxylenol and stearic acid based detergents
- Next apply a systemic pesticide such as dimethoate to kill of the insects
- Q2Weekly prophylaxis using neem emulsion. Neem emulsion acts as appetite suppressant on insects - doesn't work on caterpillars because no appetite centre in brain.
Labels:
Orchids - Cultivation techniques
Yeah! Exams are over!!!
Now going to sit one corner and worry about the outcome.
Will definitely miss the freedom of being a student and welcome the freedom to spend my own $$$ next time.
I tot after exams can Maple a bit but then looking at the balcony, I think there's a huge backlog of gardening cum repotting before I hold a garden partay. *Open arms to midnight gardening again* Some more when start work at hospital, may not have free time to do gardening sans the morning watering and the scent of night time flowers. So coincidental that my fave flowers are same colour as my new dispensing jacket lol.
Now enjoying my season 1 Strong Medicine DVDs (YYY must the subtitles be in Portuguese or Spanish oni har?!) while cutting up new flower pots and doing up my new labels for my puny orchids.
Monday, April 30, 2007
Sunday, April 29, 2007
How to make fluffy sphag granules
This may scare some people - so it is easier for me to make and give away rather than teach =p
Sphag courtesy of Dr SexaeButt. NZ sphag AAA grade. I prefer the "lousy" China sphag - easier to cut and remove the stems.
This is the first time I'm using AAA NZ moss to granulate - usually use the cheaper China moss. So far the results are good with the sundews and it is incorporated into the my paph potting mix as a binder for the fine powder ingredients to prevent rapid settling.
Pictures span 2 weeks +
Start with your dried sphagnum moss
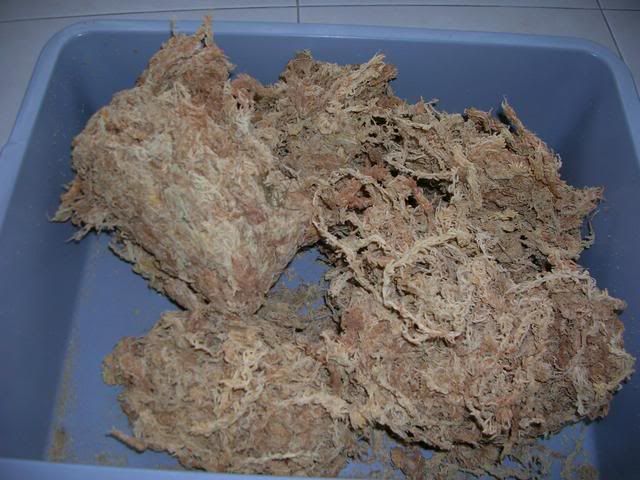
Pick through the sphagnum moss to remove the exposed stems or litter such as pine needles or grass blades.
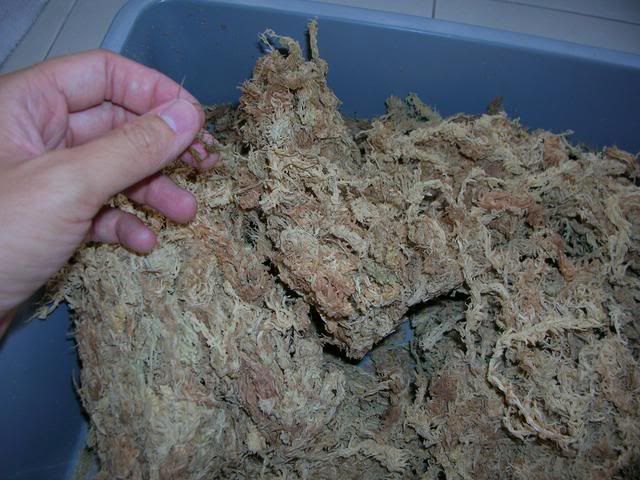
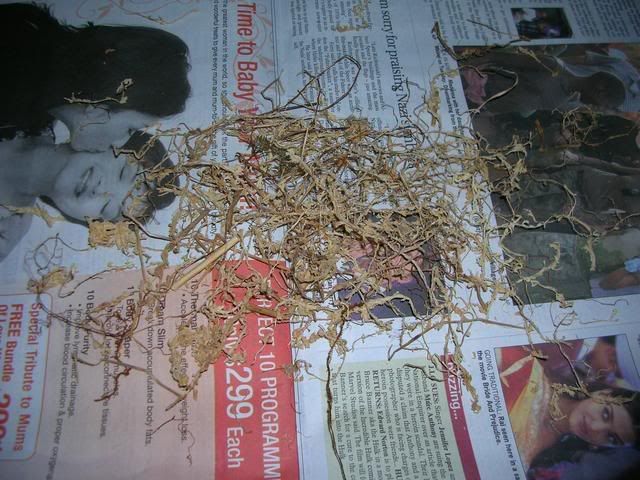
All the rough bits here. For Chinese moss it would be easier to pick through the moss when it is wet as the contaminants would be plumped up to pick.
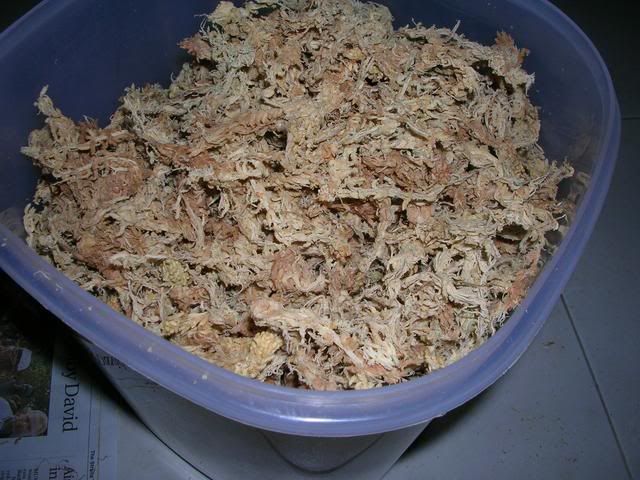
Placed into a covered container for soaking.
I usually use distilled water. Not endorsing the brand - any distilled water will do. Tap water tends to be harder and contains a lot of minerals - may cause algae growth.
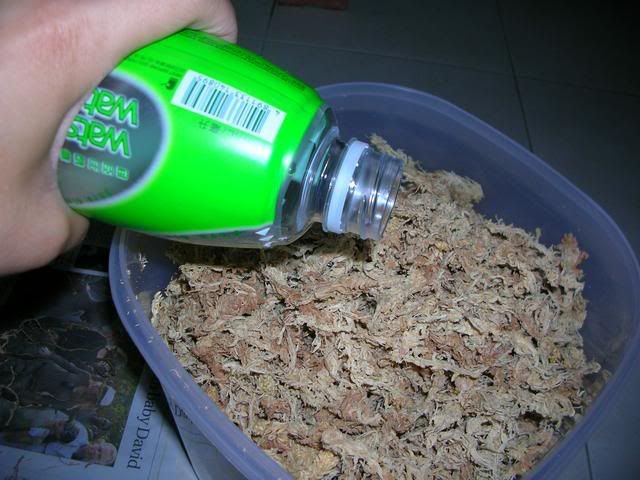
Add enough water to soak. Some would advise using just enough water to retain the tannins and other substances found within the sphag - good stuff for the plants being grown but I usually wash these out when growing terrestrials. Epiphytes would be a different matter to prevent algae growth.
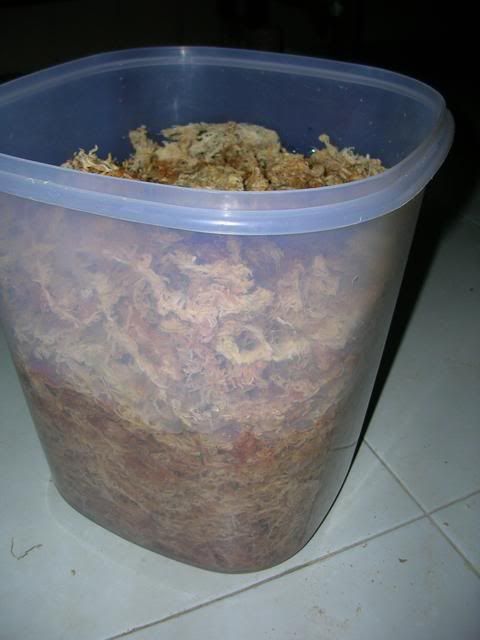
Soak covered for a few days to make sure the moss is thoroughly hydrated.
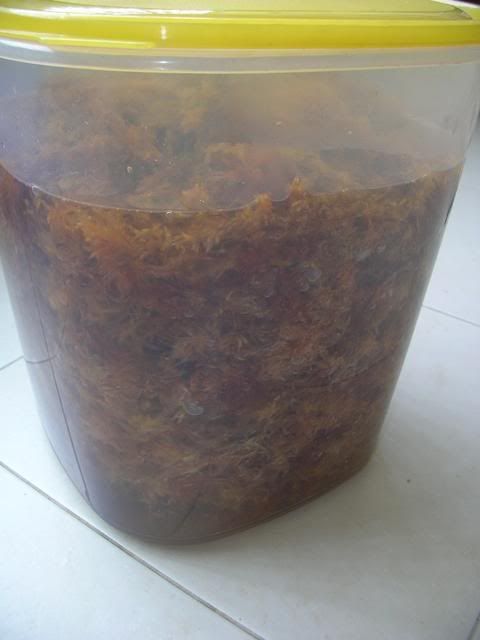
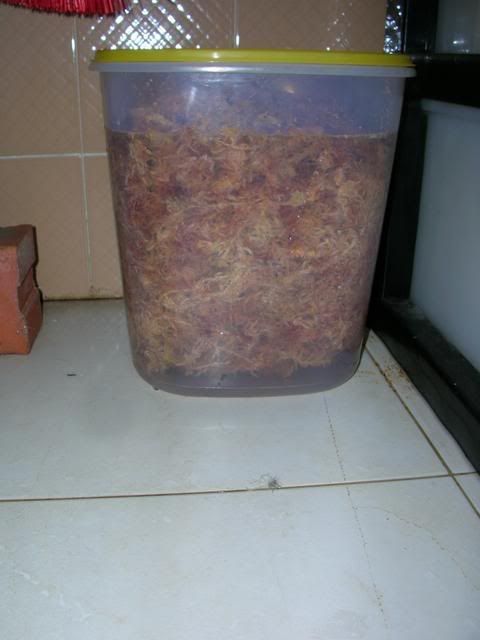
Next step after soaking the moss, get ready cutters and a tray. Some people may want to cut the moss dry - but I find it more cumbersome as the moss will be moving about and flying everywhere as you cut it. Wet moss cut easier and stay in place better. On the other hand, easier to sieve out the fines (<1mm)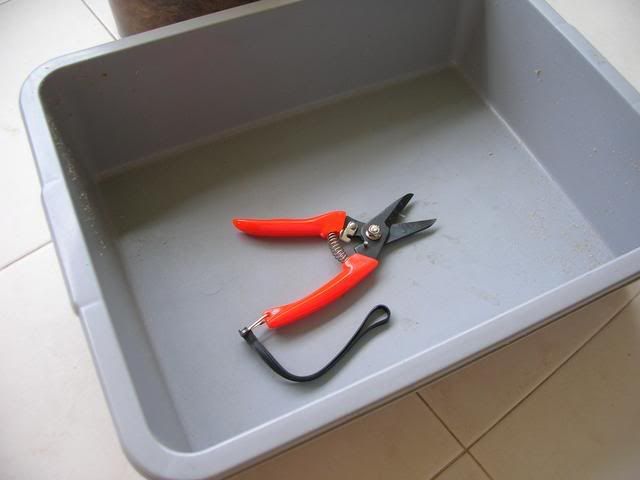
Protect your fingers if you do not want to introduce extra iron into your potting mix.

Grab a handful of your moss and squeeze out excess water.
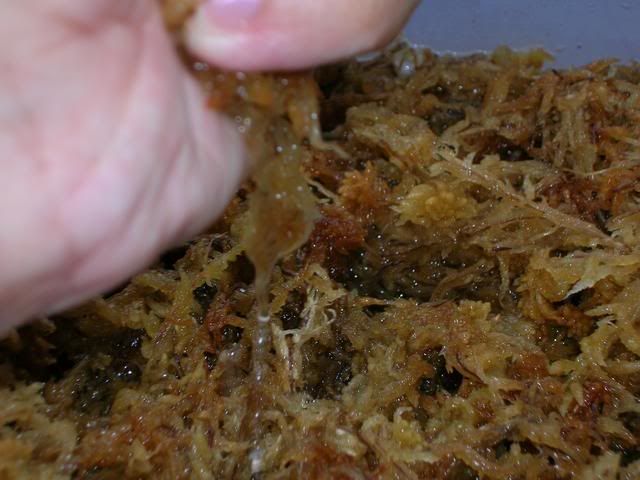
Mould a handful of moss in your hand to facilitate cutting.
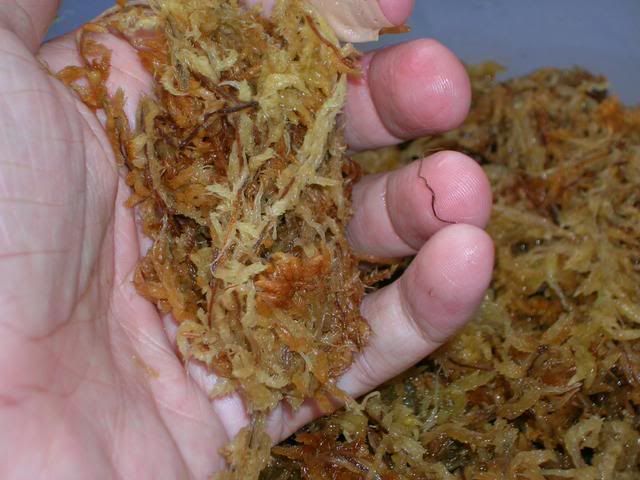
Snip away. I tried a blender in the past but ended up with either a slurry of mush or very unevenlyt cut up moss.
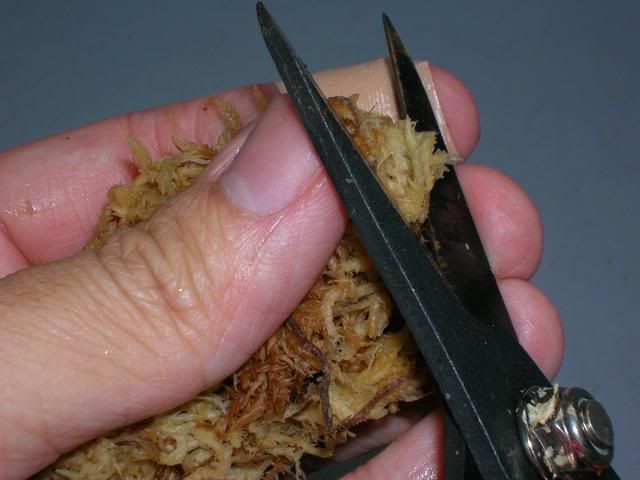
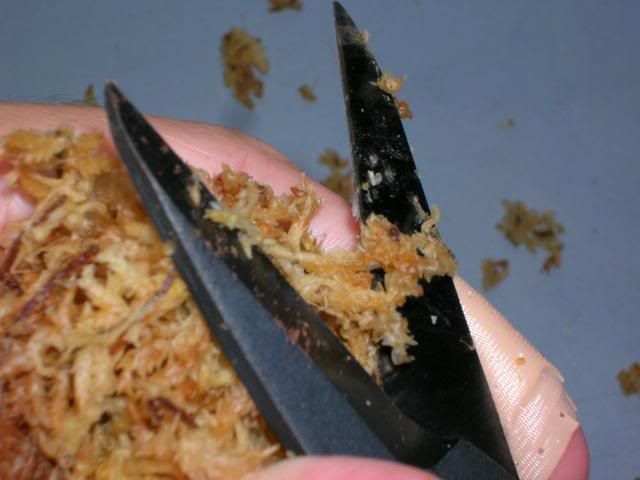
You will get fragments of moss like so:
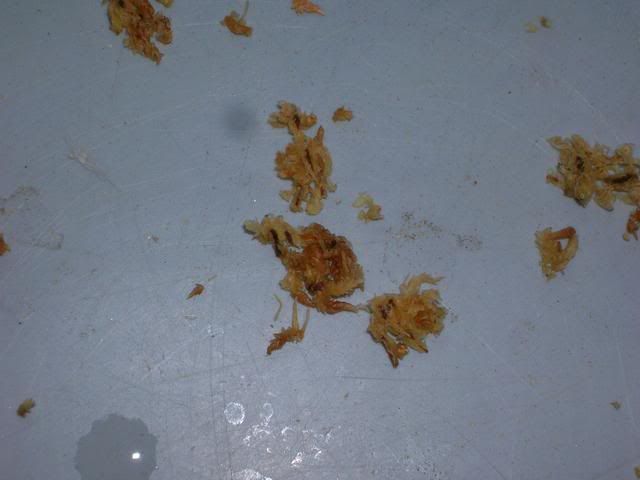
A heap after 2 episodes of Jewel in the palace.
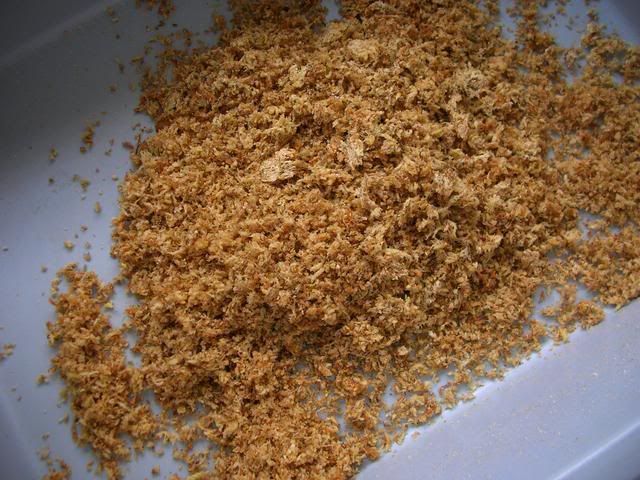
As the first cuts tend to be very coarse, go through another round of snipping if you want a finer mix for terrestrial potting or as a germination mix. The moss tips tend to be missed, so look out for those to cut.
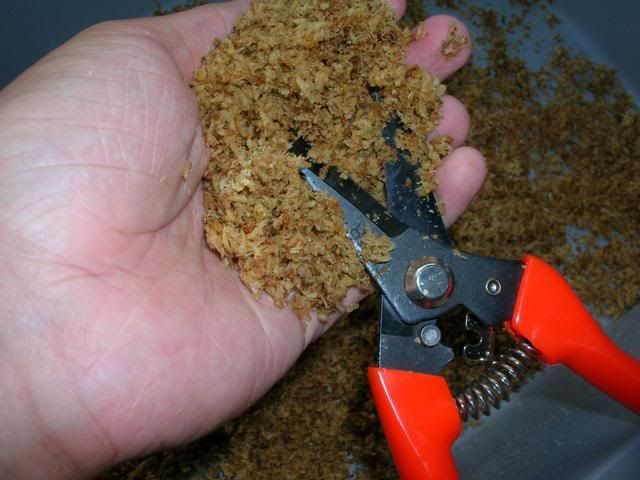
After 4 episodes:
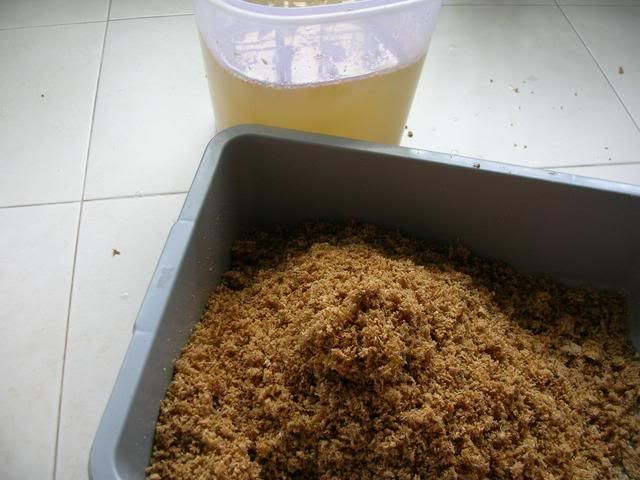
The water contains a lot of tannins (may inhibit growth of certain plants). Tannins may help prevent algae though.
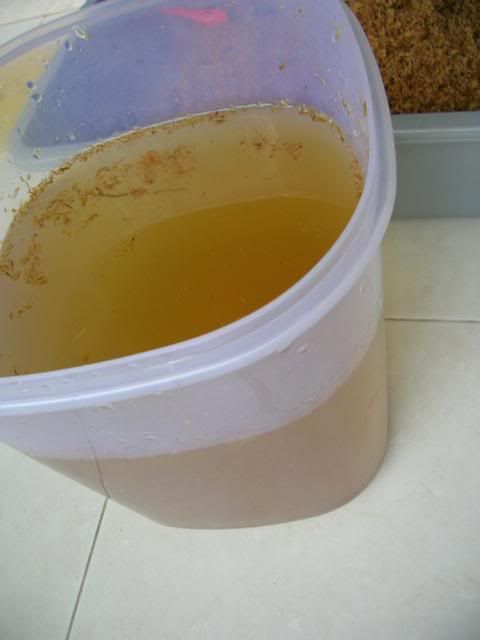
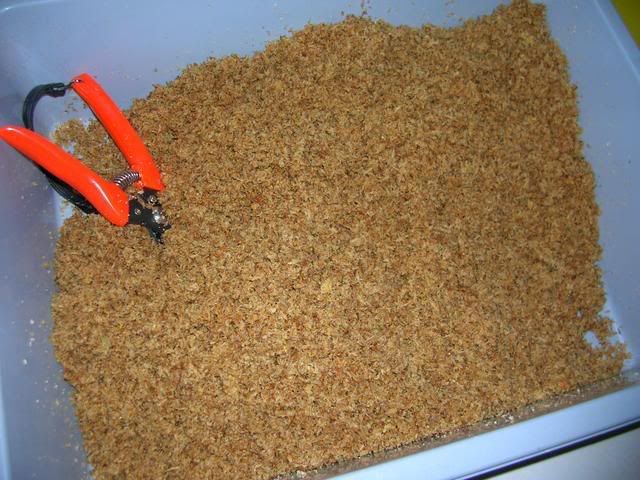
Change water.
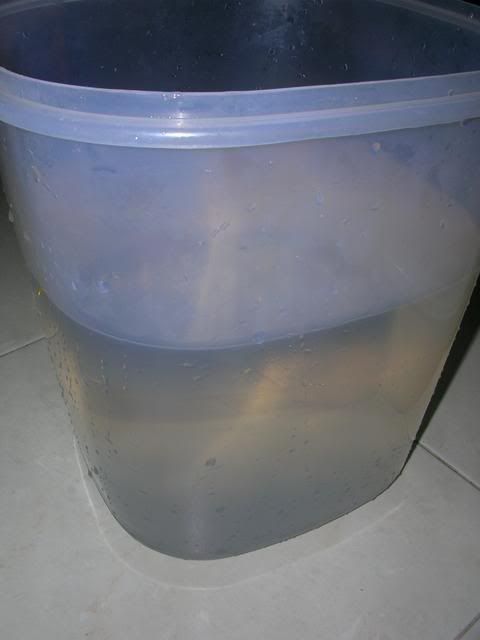
Add back the moss for rinsing
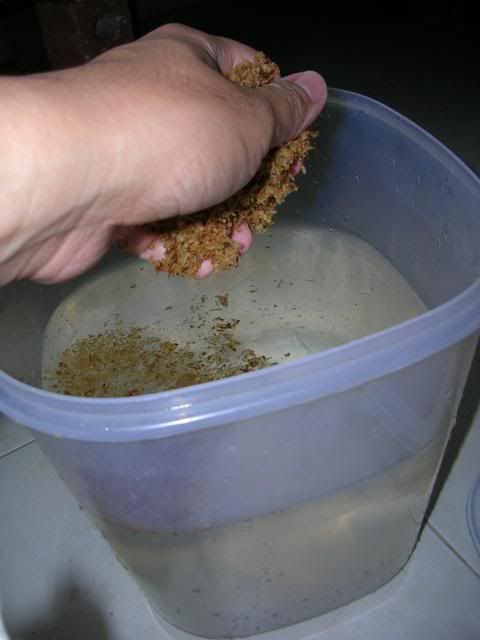
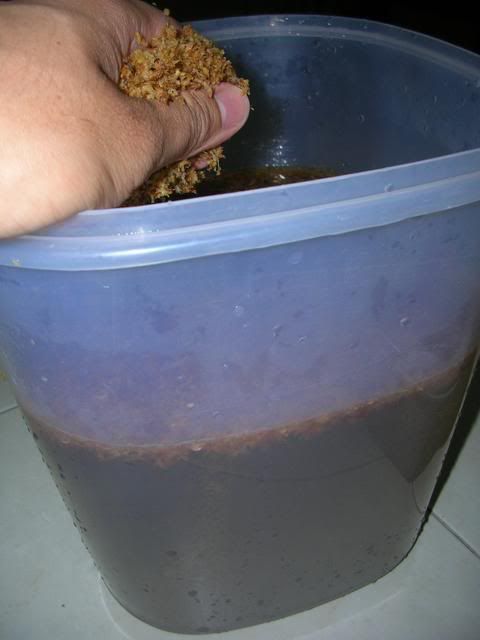
The cut up moss tend to be foamy as there are air pockets in the moss.
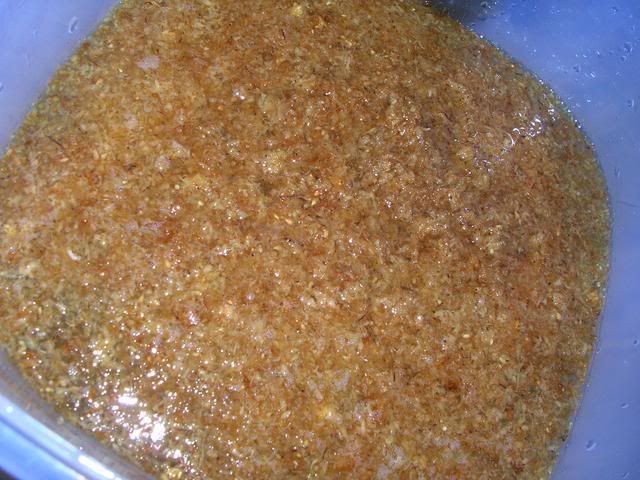
Gums start to come out as you cut and resoak - so the moss starts to stick - good for binding fine powders.
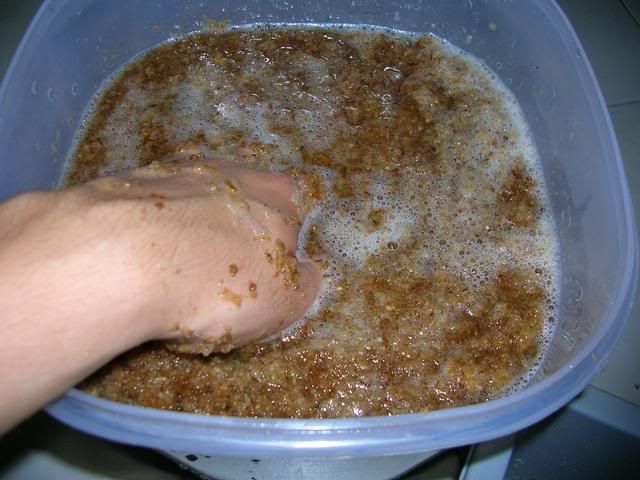
Geh-poh in my midst.

Soak the moss for another few days to allow further leeching.
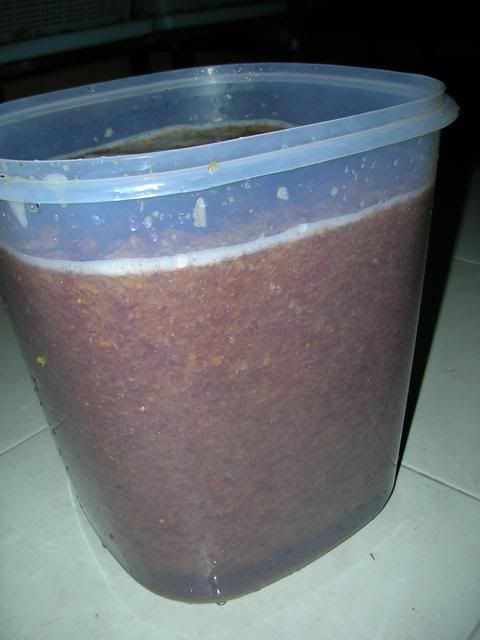
The mixture will start to smell like molten plastic after a few days' soaking. Rinse and wash with a 1mm sieve. - No picture for the safety of the camera.
Remove the excess water. You may want to allow the moss to dry out partially before passing through another sieve - if not you'll end up with pushing out water instead of passing out moss.
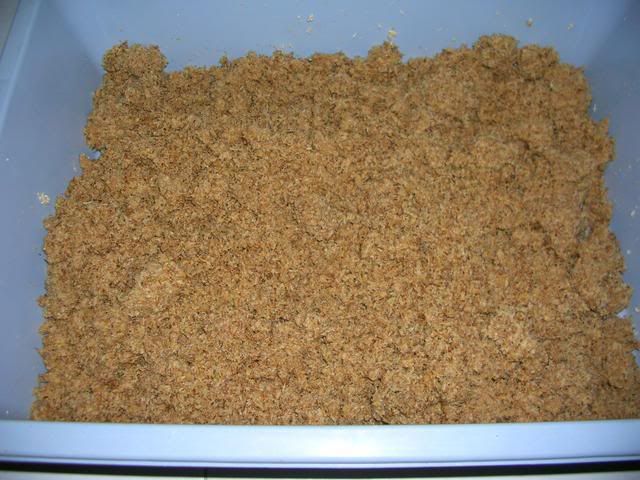
Very lumpy moss - may cause compaction on watering. Air pockets are desired in most potting media.
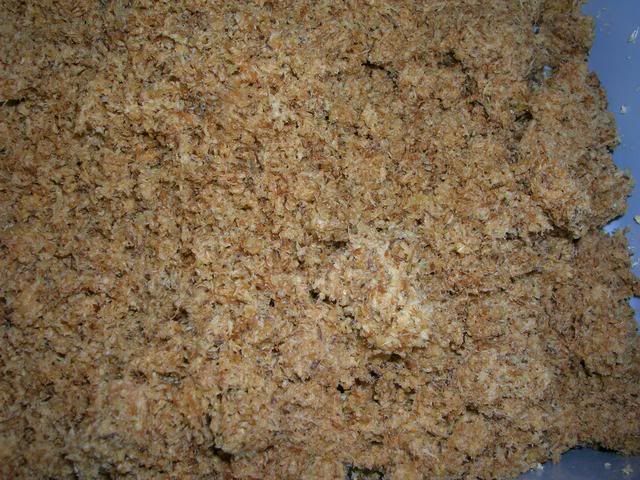
When granulating, store the moss in a bag to prevent addition water loss just in case you can not complete sieving in time. Dry sieving of moss will end up with very fine flakes.
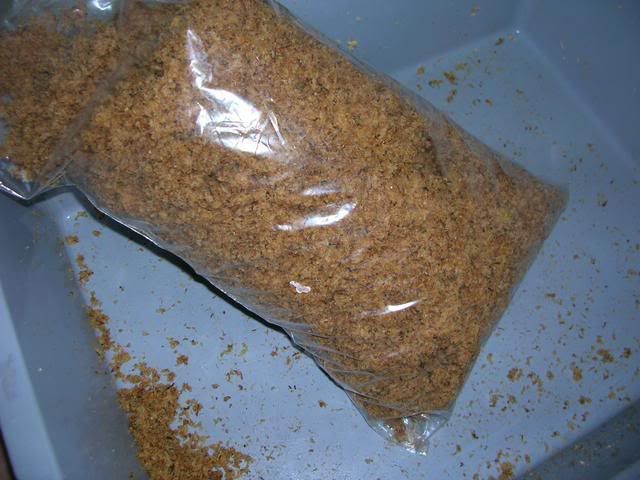
Use a 5mm sieve to sieve the wet moss
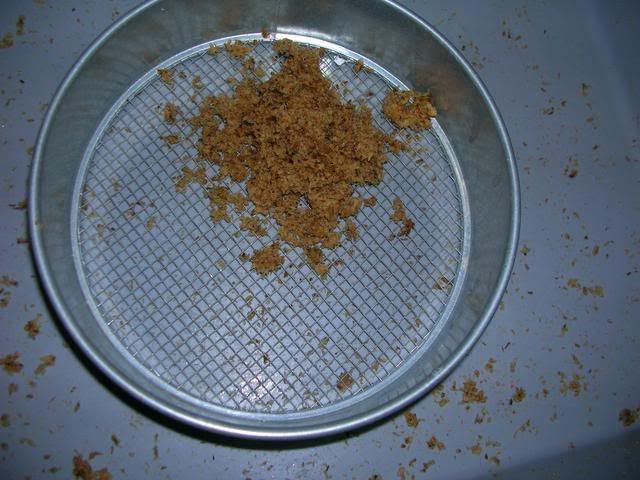
Use your hand to pass the moss through the sieve.
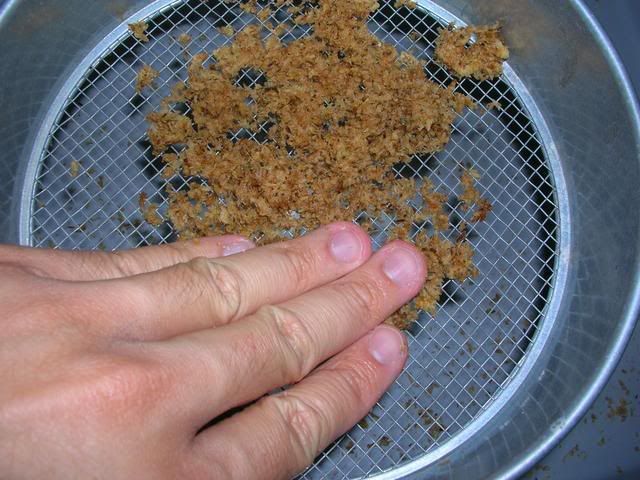
You will get granules like so:
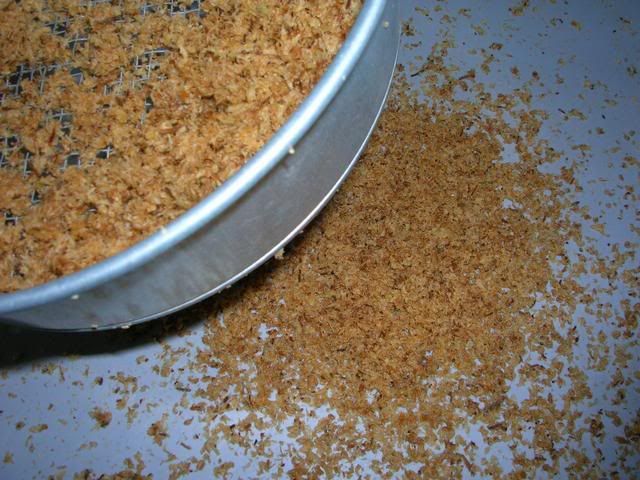
At the same time, remove any missed out stems.
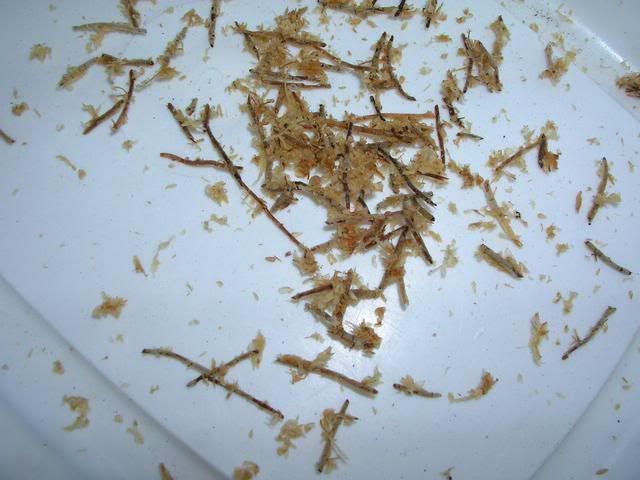
As the granules are fragile, move them about with a fine stiff stick. You may store it moist or air-dried until they become crispy and changed colour.
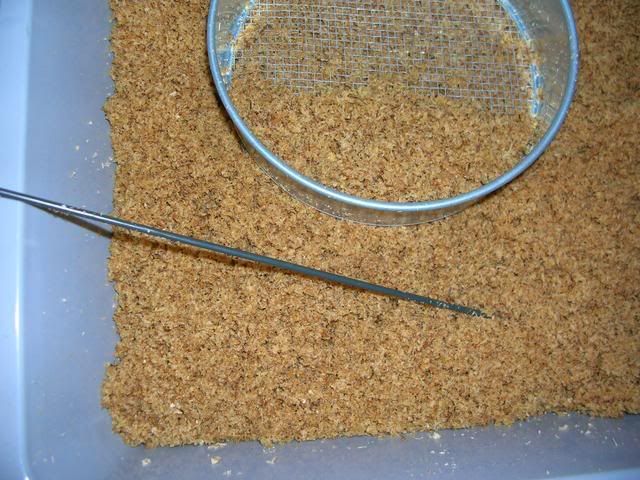
If you are using for binding purposes, store the moss while it is still moist.
If using as a straight media for sundews, you can store this dry. To reconstitute, add sufficient into a cover container, add a bit of water and shake. Repeat until it is moisten sufficiently. If too much water is added at one time, the dried moss will float up.
Alternatively, add sufficient water and allow the moss to rehydrate overnight - but there is a danger of adding too much water.
Sphag courtesy of Dr SexaeButt. NZ sphag AAA grade. I prefer the "lousy" China sphag - easier to cut and remove the stems.
This is the first time I'm using AAA NZ moss to granulate - usually use the cheaper China moss. So far the results are good with the sundews and it is incorporated into the my paph potting mix as a binder for the fine powder ingredients to prevent rapid settling.
Pictures span 2 weeks +
Start with your dried sphagnum moss

Pick through the sphagnum moss to remove the exposed stems or litter such as pine needles or grass blades.

All the rough bits here. For Chinese moss it would be easier to pick through the moss when it is wet as the contaminants would be plumped up to pick.

Placed into a covered container for soaking.

I usually use distilled water. Not endorsing the brand - any distilled water will do. Tap water tends to be harder and contains a lot of minerals - may cause algae growth.

Add enough water to soak. Some would advise using just enough water to retain the tannins and other substances found within the sphag - good stuff for the plants being grown but I usually wash these out when growing terrestrials. Epiphytes would be a different matter to prevent algae growth.

Soak covered for a few days to make sure the moss is thoroughly hydrated.


Next step after soaking the moss, get ready cutters and a tray. Some people may want to cut the moss dry - but I find it more cumbersome as the moss will be moving about and flying everywhere as you cut it. Wet moss cut easier and stay in place better. On the other hand, easier to sieve out the fines (<1mm)

Protect your fingers if you do not want to introduce extra iron into your potting mix.

Grab a handful of your moss and squeeze out excess water.

Mould a handful of moss in your hand to facilitate cutting.

Snip away. I tried a blender in the past but ended up with either a slurry of mush or very unevenlyt cut up moss.


You will get fragments of moss like so:

A heap after 2 episodes of Jewel in the palace.

As the first cuts tend to be very coarse, go through another round of snipping if you want a finer mix for terrestrial potting or as a germination mix. The moss tips tend to be missed, so look out for those to cut.

After 4 episodes:

The water contains a lot of tannins (may inhibit growth of certain plants). Tannins may help prevent algae though.


Change water.

Add back the moss for rinsing


The cut up moss tend to be foamy as there are air pockets in the moss.

Gums start to come out as you cut and resoak - so the moss starts to stick - good for binding fine powders.

Geh-poh in my midst.

Soak the moss for another few days to allow further leeching.

The mixture will start to smell like molten plastic after a few days' soaking. Rinse and wash with a 1mm sieve. - No picture for the safety of the camera.
Remove the excess water. You may want to allow the moss to dry out partially before passing through another sieve - if not you'll end up with pushing out water instead of passing out moss.

Very lumpy moss - may cause compaction on watering. Air pockets are desired in most potting media.

When granulating, store the moss in a bag to prevent addition water loss just in case you can not complete sieving in time. Dry sieving of moss will end up with very fine flakes.

Use a 5mm sieve to sieve the wet moss

Use your hand to pass the moss through the sieve.

You will get granules like so:

At the same time, remove any missed out stems.

As the granules are fragile, move them about with a fine stiff stick. You may store it moist or air-dried until they become crispy and changed colour.

If you are using for binding purposes, store the moss while it is still moist.
If using as a straight media for sundews, you can store this dry. To reconstitute, add sufficient into a cover container, add a bit of water and shake. Repeat until it is moisten sufficiently. If too much water is added at one time, the dried moss will float up.
Alternatively, add sufficient water and allow the moss to rehydrate overnight - but there is a danger of adding too much water.
Labels:
Orchids - Cultivation techniques
Green green Eulophia squalida
Got some bulbs from the Philippines through Anna. I love the shade of green the Filippino strains come in. They also have a lucious purple one that does not flower well here.
I've tried the Thai strains too but they kept producing leaves only =.= See the tallest chunk behind:
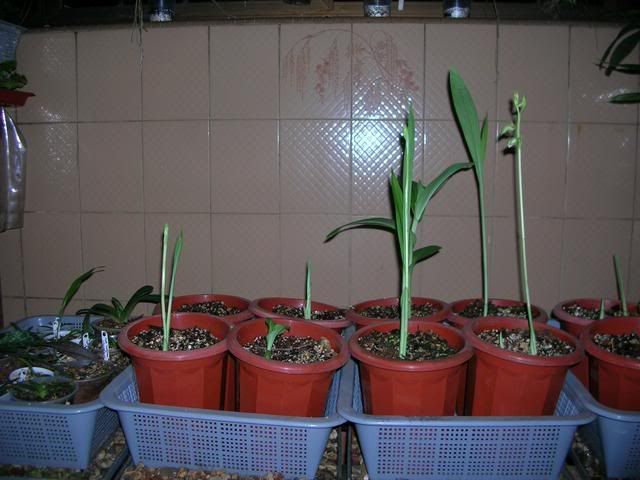
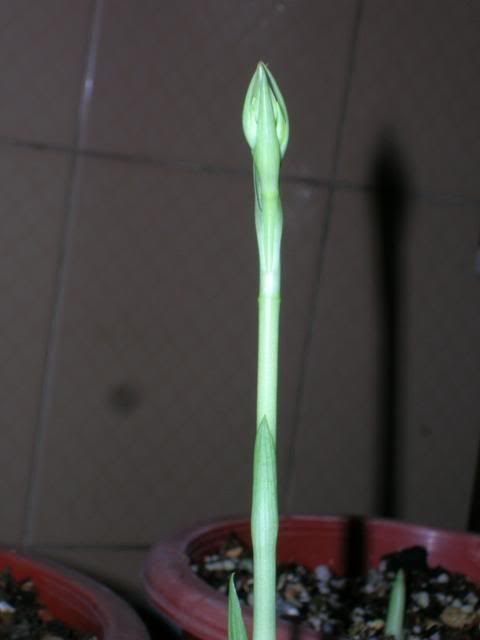
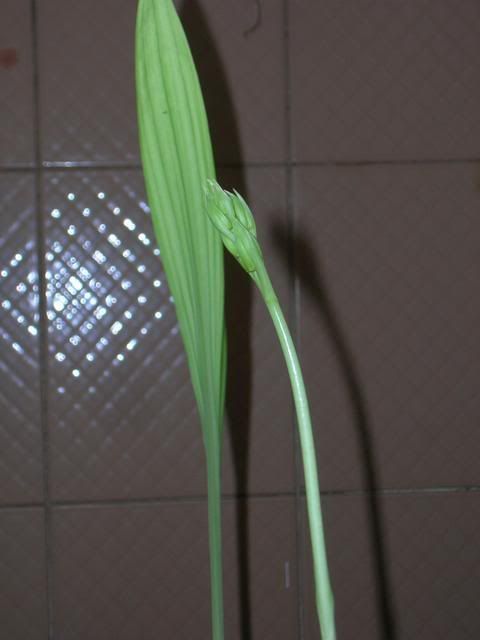
Managed to get the flowering sequence but the greatest fear I have now is that the plant is flowering so early before the leaves start growing that the plant may die a bit too soon before a new bulb is produced. May be I just take Anna's advice and force-feed during active growth ^^
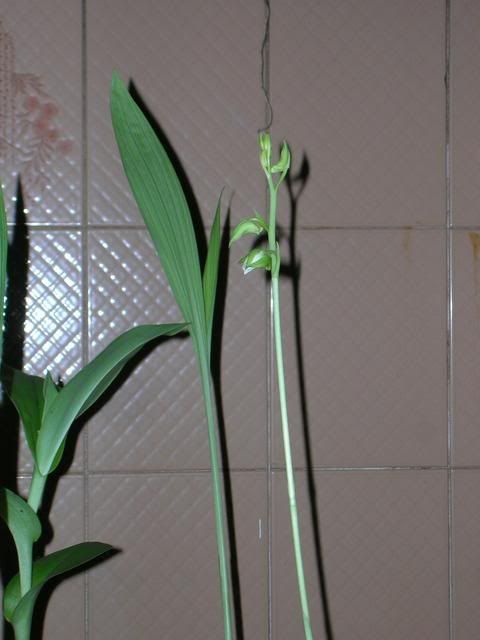
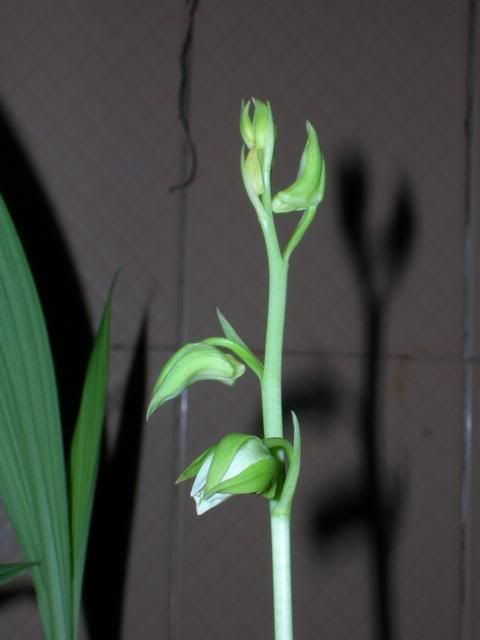
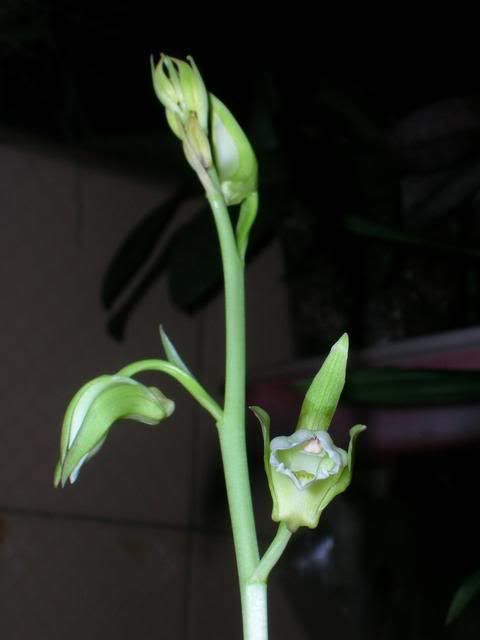
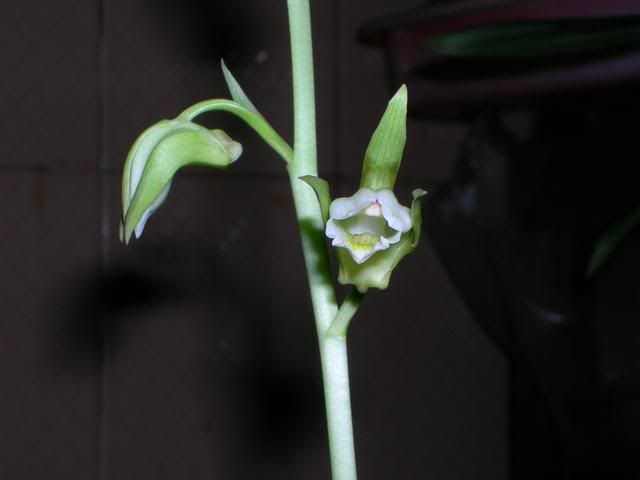
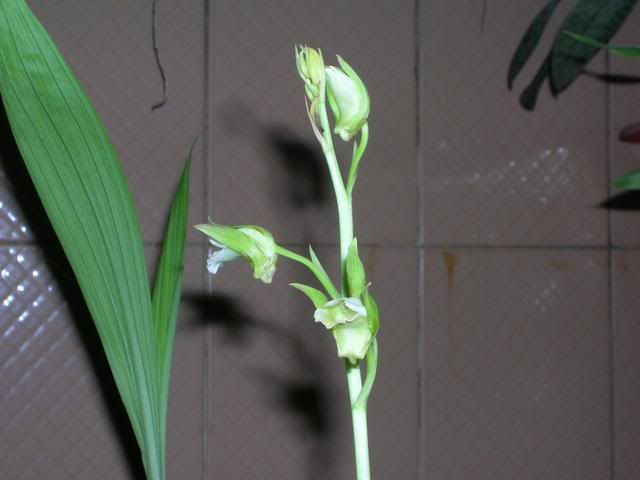
I've tried the Thai strains too but they kept producing leaves only =.= See the tallest chunk behind:

Managed to get the flowering sequence but the greatest fear I have now is that the plant is flowering so early before the leaves start growing that the plant may die a bit too soon before a new bulb is produced. May be I just take Anna's advice and force-feed during active growth ^^


A little extra
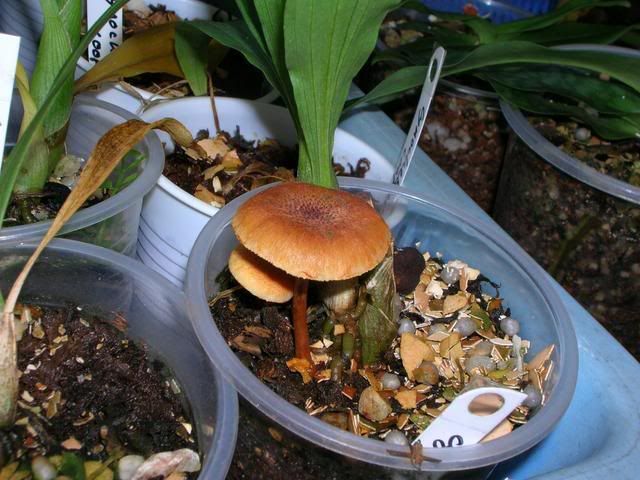
A signal to change potting mix for my Cynoches herrenhausum seedlings. Or should I carry out another randomised cultivation trial?
Labels:
Orchids - Cultivation techniques
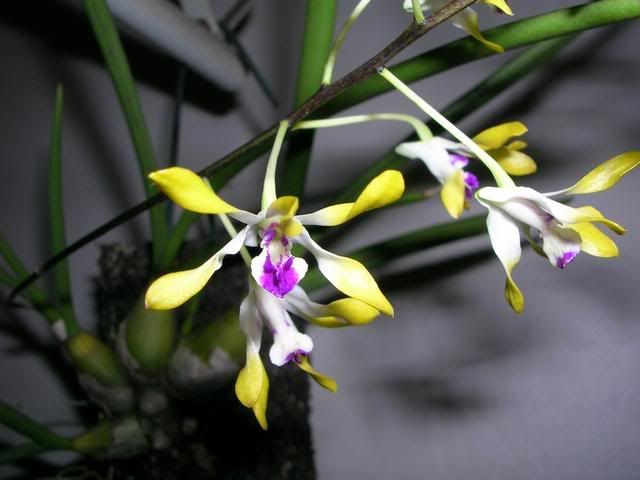
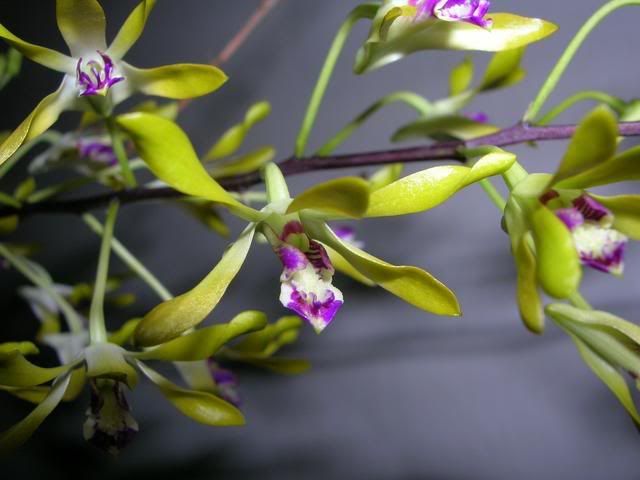
Dendrobium canaliculiatums - super dark purple lip!!
Got this from Murray the last last time he came down for the Johor show, when the rules for cross border transport of orchids were still not in place.
The plant initally rotted and died down to the backbulbs but it eventually survived.
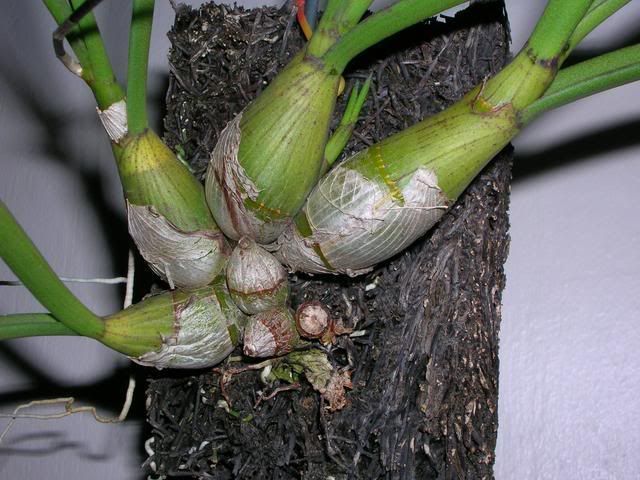
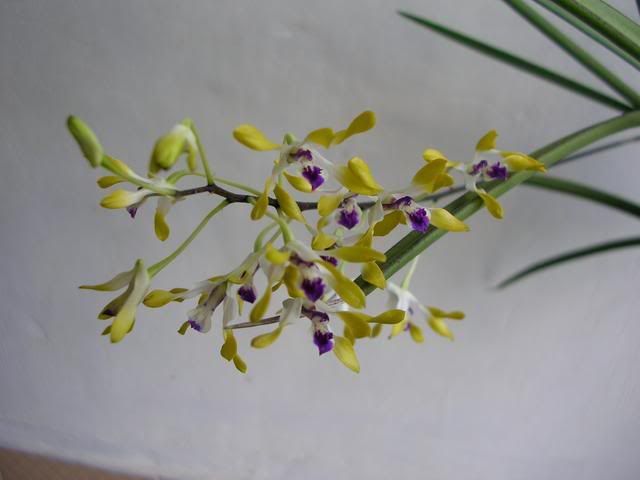
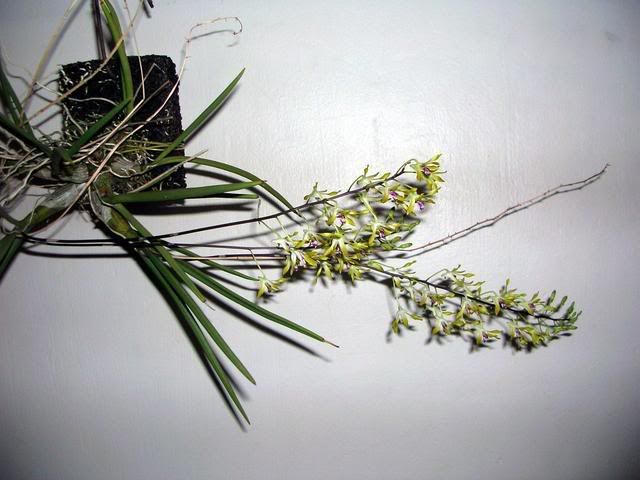
It bloomed recently along with the Dendrobium canaliculatum that a friend got back from QLD for me.
These were night shots, so the colour isn't so shiok
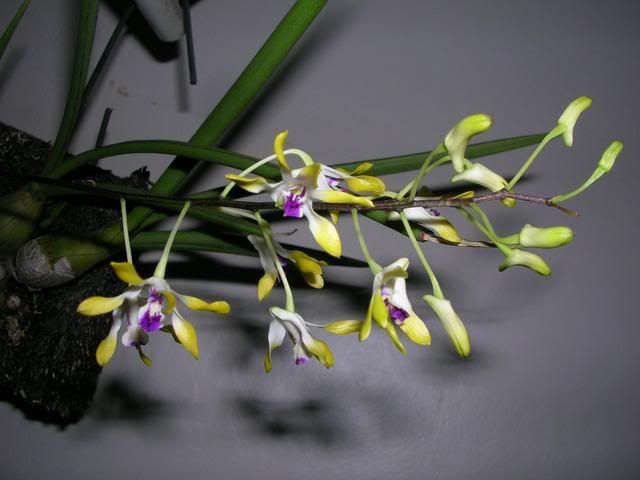
Here's a day shot:
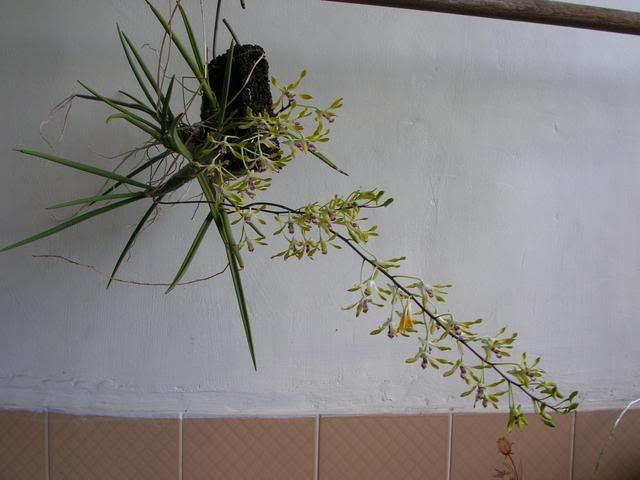
Here's the plant from QLD
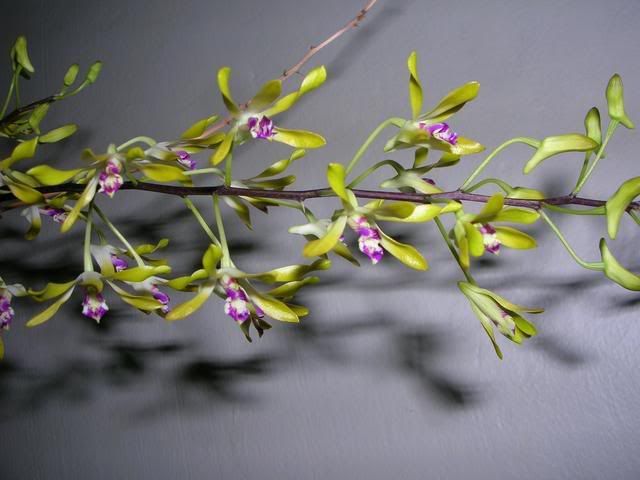
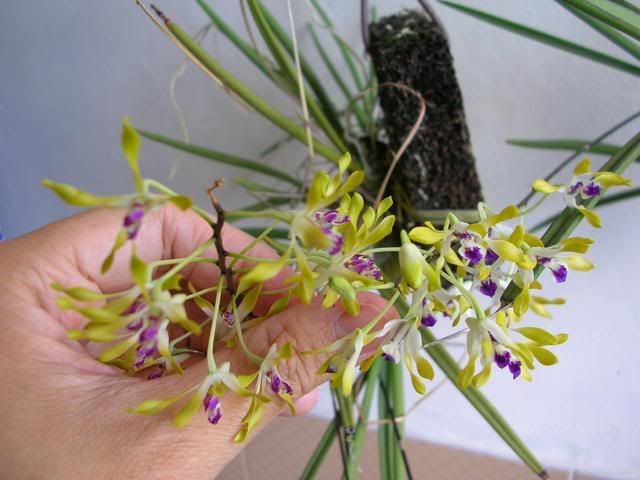
Here's the contrast (Murray's plant on the right - see the lip colour of the beauty):
The plant initally rotted and died down to the backbulbs but it eventually survived.

It bloomed recently along with the Dendrobium canaliculatum that a friend got back from QLD for me.
These were night shots, so the colour isn't so shiok


Here's a day shot:

Here's the plant from QLD


Here's the contrast (Murray's plant on the right - see the lip colour of the beauty):

Subscribe to:
Comments (Atom)
 - randomn thoughts that cross my mind.
