 - randomn thoughts that cross my mind.
Sphag courtesy of Dr SexaeButt. NZ sphag AAA grade. I prefer the "lousy" China sphag - easier to cut and remove the stems.
This is the first time I'm using AAA NZ moss to granulate - usually use the cheaper China moss. So far the results are good with the sundews and it is incorporated into the my paph potting mix as a binder for the fine powder ingredients to prevent rapid settling.
Pictures span 2 weeks +
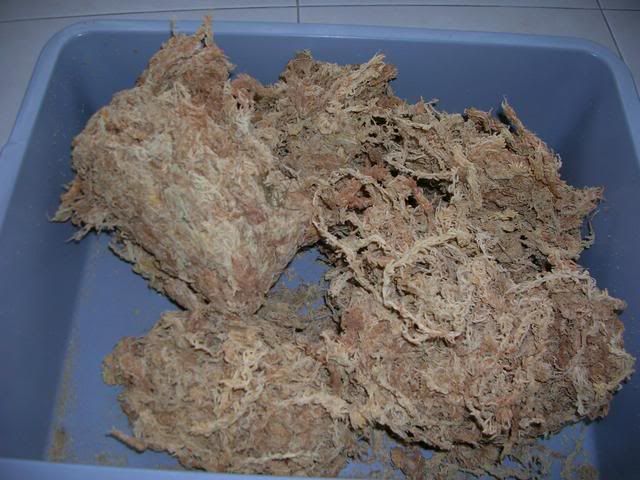
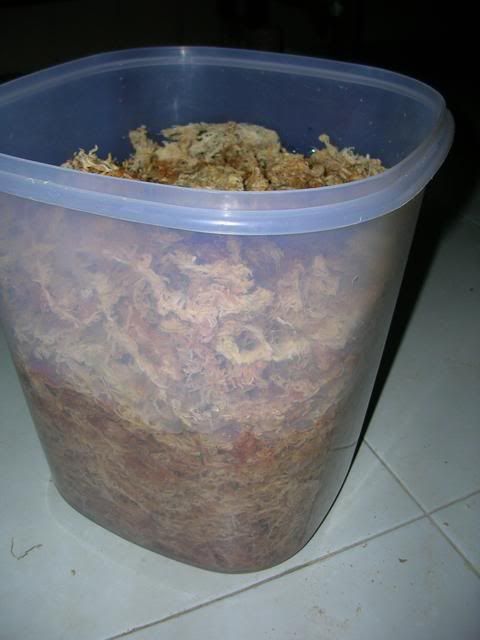
Start with your dried sphagnum moss
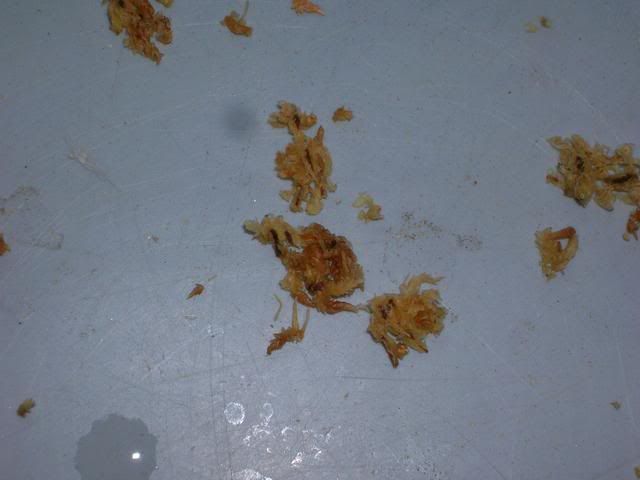
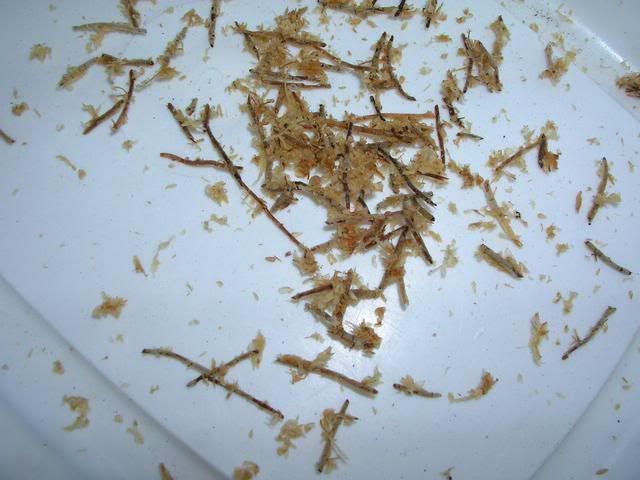
Pick through the sphagnum moss to remove the exposed stems or litter such as pine needles or grass blades.
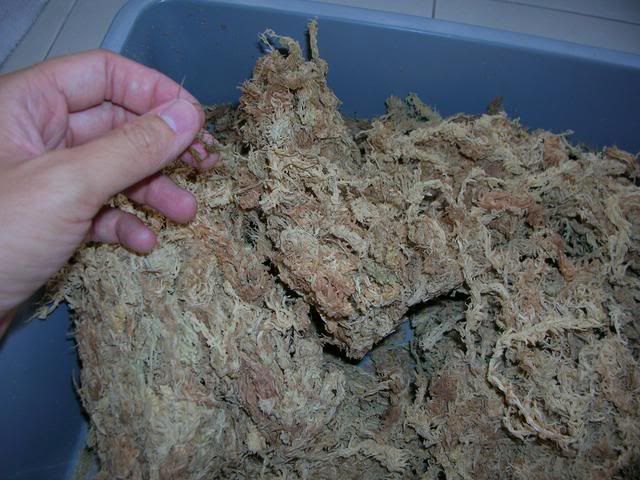
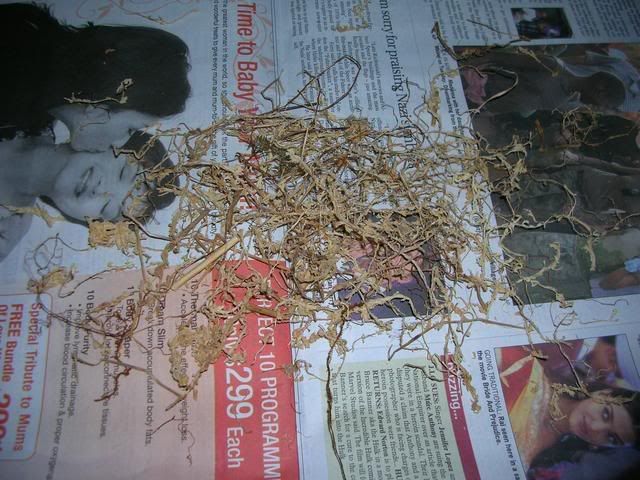
All the rough bits here. For Chinese moss it would be easier to pick through the moss when it is wet as the contaminants would be plumped up to pick.
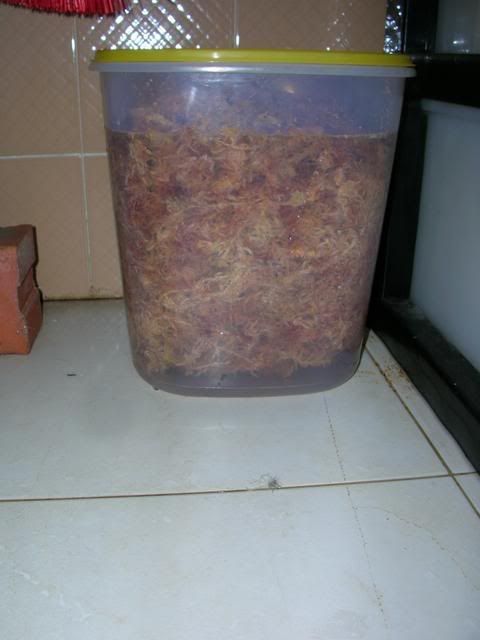
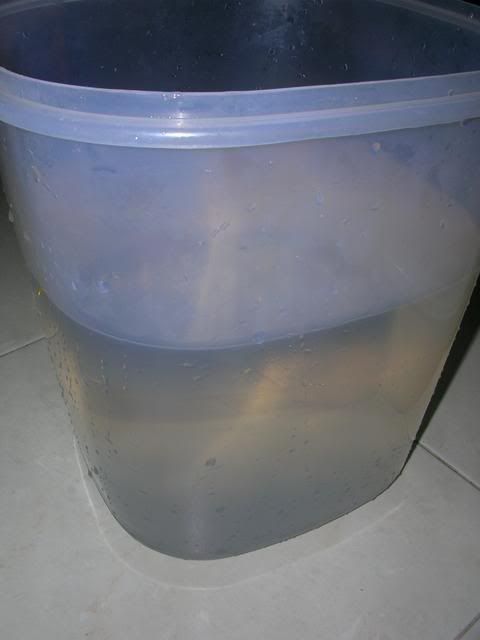
Placed into a covered container for soaking.

I usually use distilled water. Not endorsing the brand - any distilled water will do. Tap water tends to be harder and contains a lot of minerals - may cause algae growth.
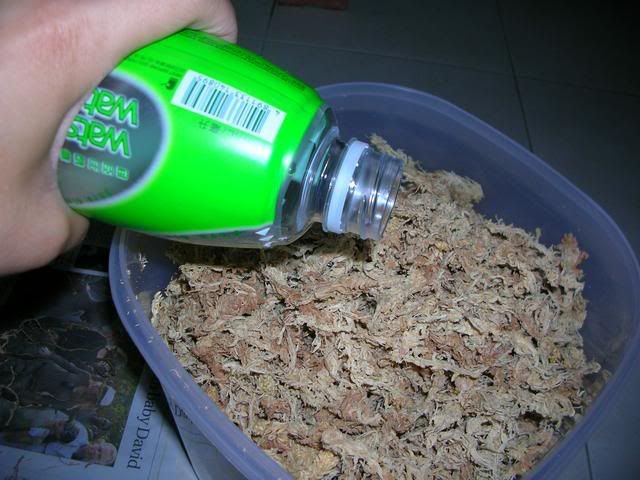
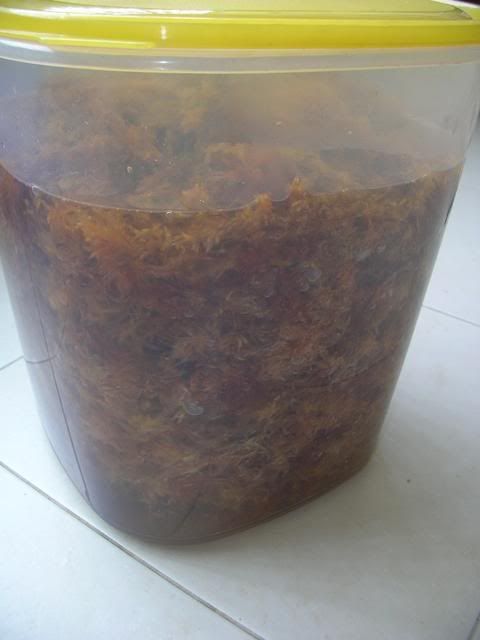
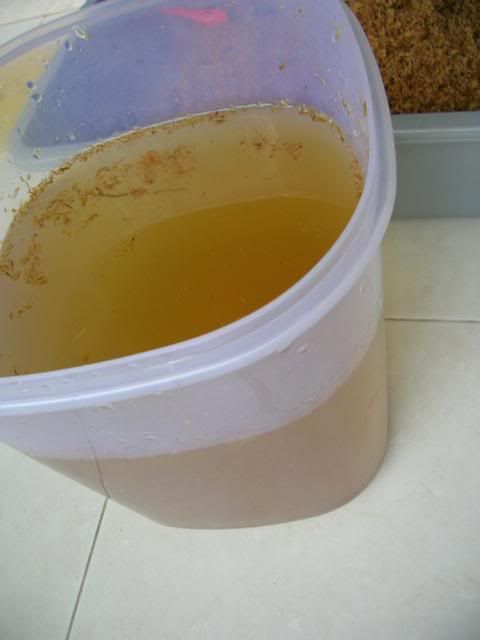
Add enough water to soak. Some would advise using just enough water to retain the tannins and other substances found within the sphag - good stuff for the plants being grown but I usually wash these out when growing terrestrials. Epiphytes would be a different matter to prevent algae growth.
Soak covered for a few days to make sure the moss is thoroughly hydrated.
Next step after soaking the moss, get ready cutters and a tray. Some people may want to cut the moss dry - but I find it more cumbersome as the moss will be moving about and flying everywhere as you cut it. Wet moss cut easier and stay in place better. On the other hand, easier to sieve out the fines (<1mm)
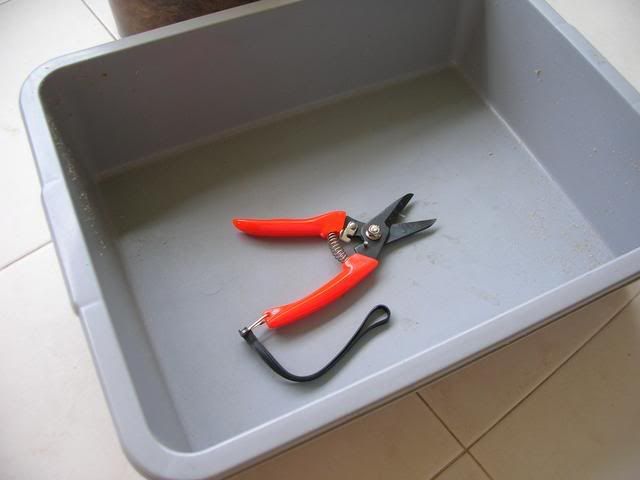
Protect your fingers if you do not want to introduce extra iron into your potting mix.

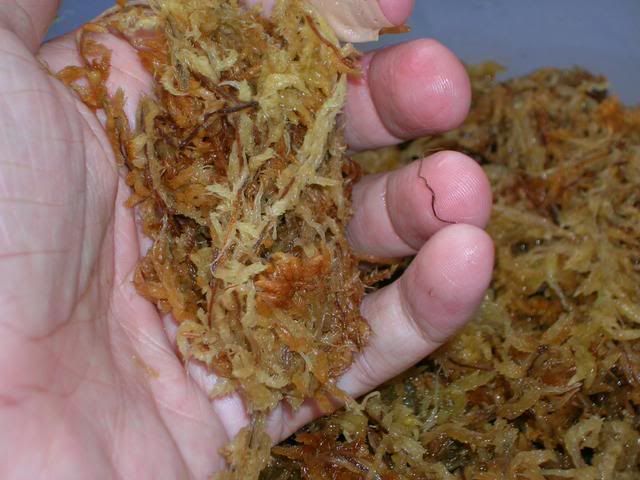
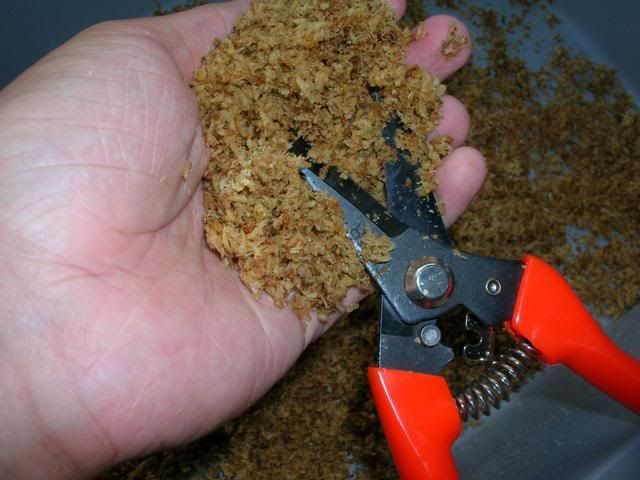
Grab a handful of your moss and squeeze out excess water.
Mould a handful of moss in your hand to facilitate cutting.
Snip away. I tried a blender in the past but ended up with either a slurry of mush or very unevenlyt cut up moss.
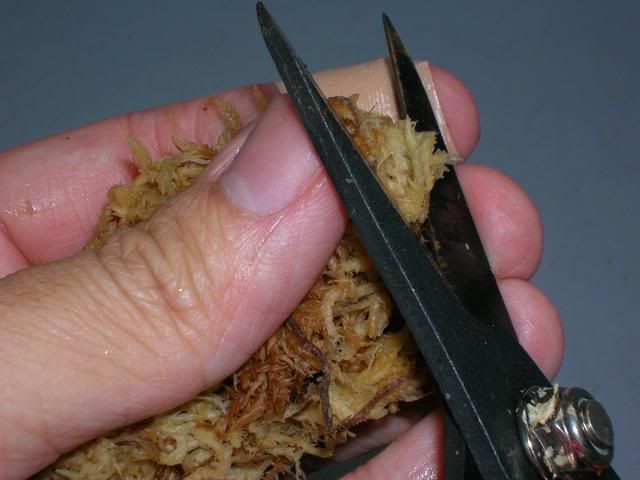
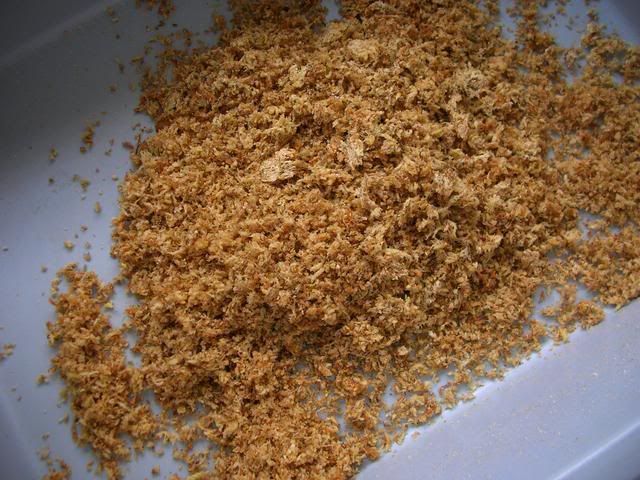
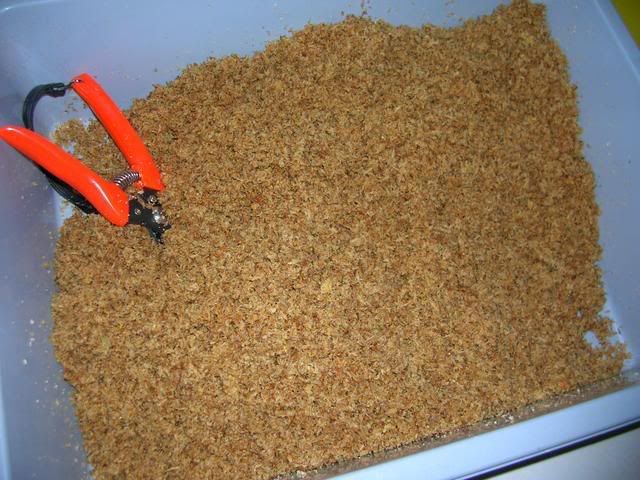
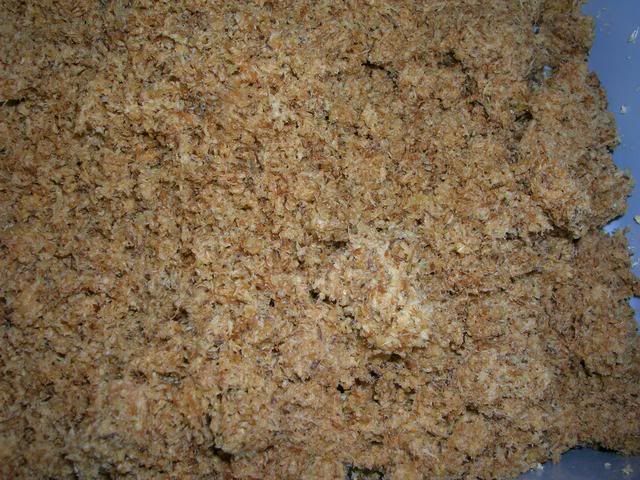
You will get fragments of moss like so:
A heap after 2 episodes of Jewel in the palace.
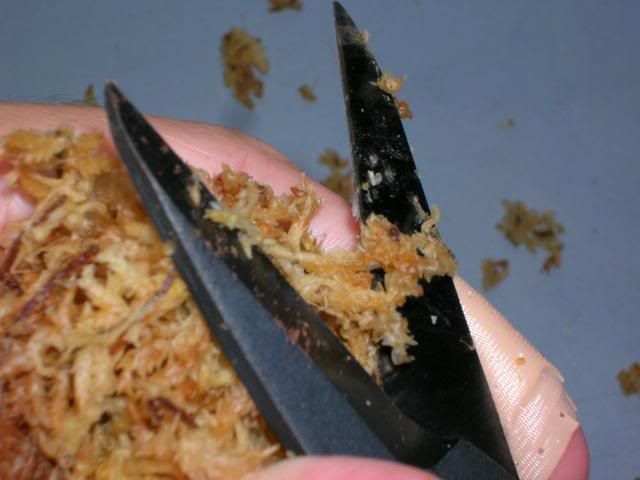
As the first cuts tend to be very coarse, go through another round of snipping if you want a finer mix for terrestrial potting or as a germination mix. The moss tips tend to be missed, so look out for those to cut.
After 4 episodes:
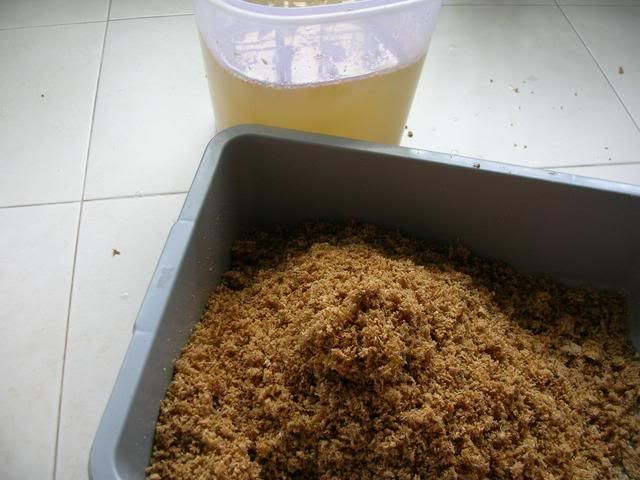
The water contains a lot of tannins (may inhibit growth of certain plants). Tannins may help prevent algae though.
Change water.
Add back the moss for rinsing
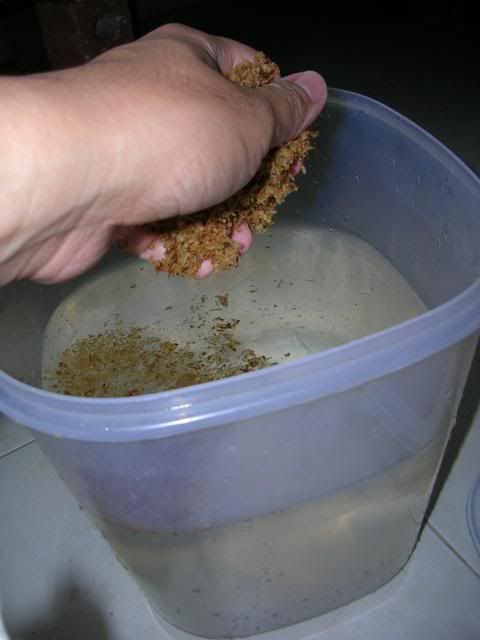

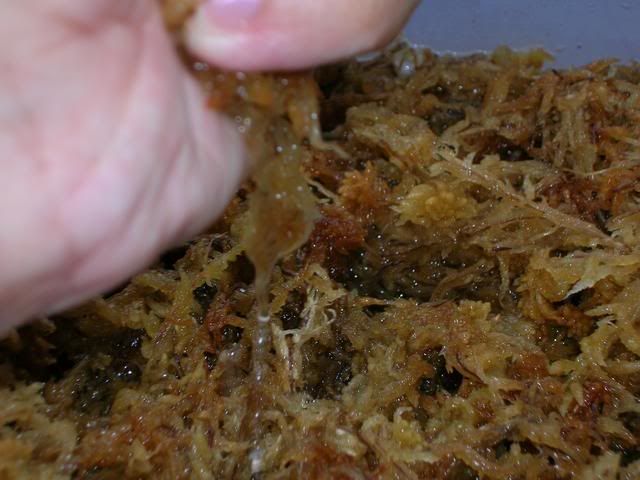
The cut up moss tend to be foamy as there are air pockets in the moss.
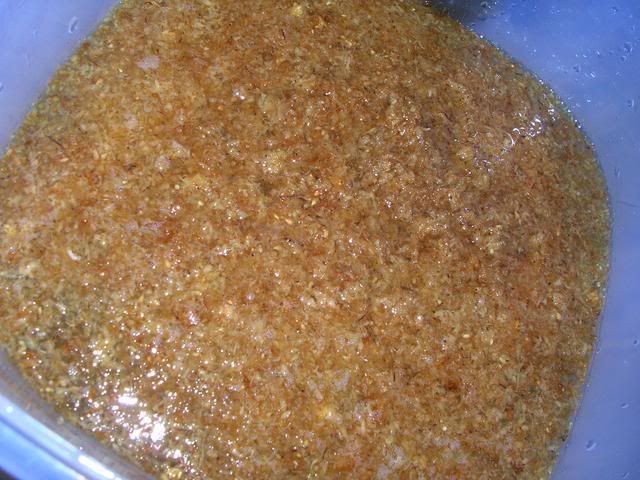
Gums start to come out as you cut and resoak - so the moss starts to stick - good for binding fine powders.
Geh-poh in my midst.

Soak the moss for another few days to allow further leeching.

The mixture will start to smell like molten plastic after a few days' soaking. Rinse and wash with a 1mm sieve. - No picture for the safety of the camera.
Remove the excess water. You may want to allow the moss to dry out partially before passing through another sieve - if not you'll end up with pushing out water instead of passing out moss.
Very lumpy moss - may cause compaction on watering. Air pockets are desired in most potting media.
When granulating, store the moss in a bag to prevent addition water loss just in case you can not complete sieving in time. Dry sieving of moss will end up with very fine flakes.
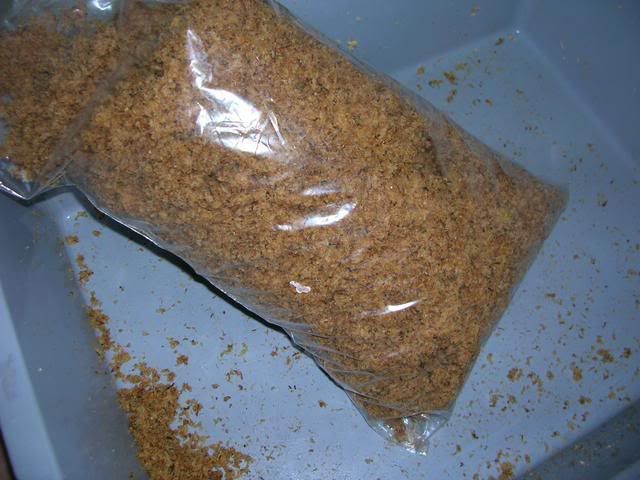
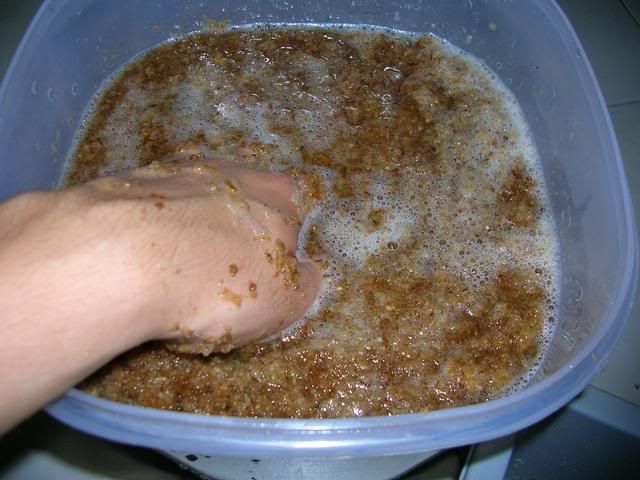
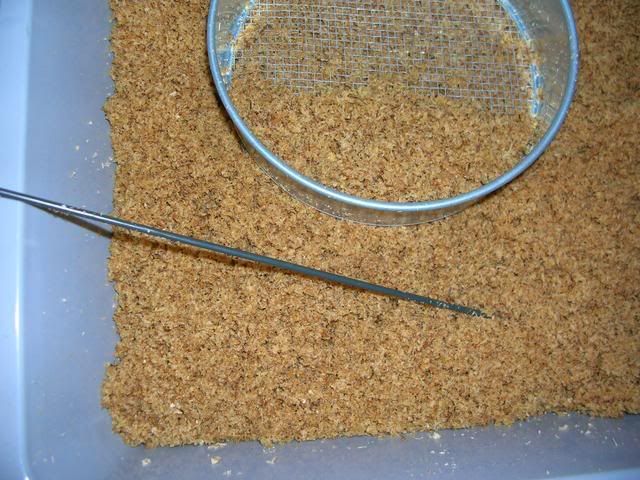
Use a 5mm sieve to sieve the wet moss
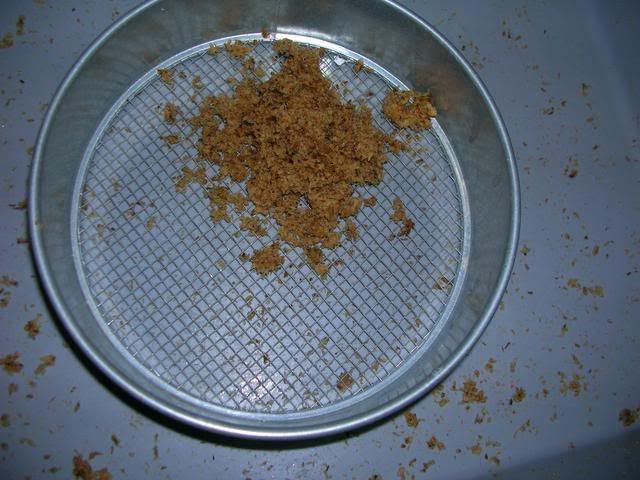
Use your hand to pass the moss through the sieve.
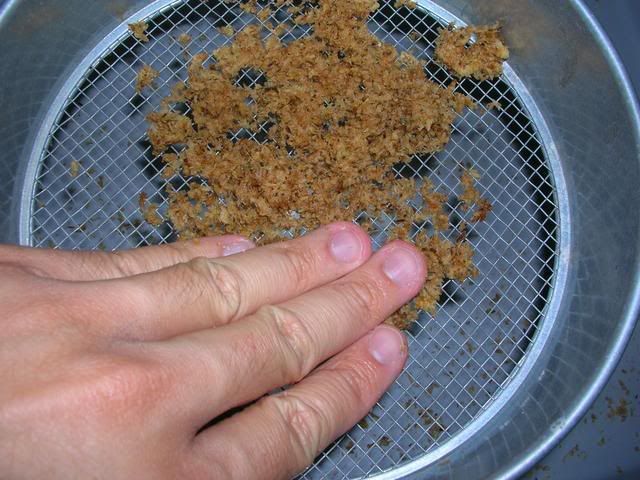
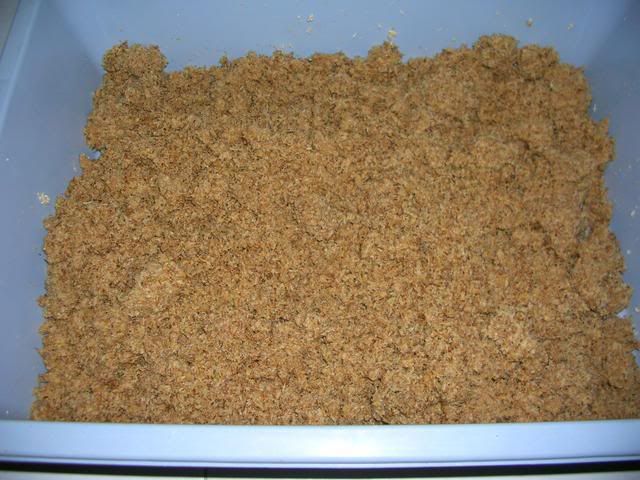
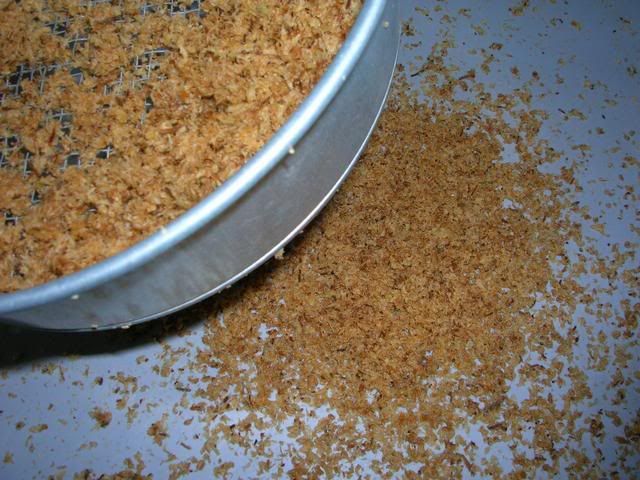
You will get granules like so:
At the same time, remove any missed out stems.
As the granules are fragile, move them about with a fine stiff stick. You may store it moist or air-dried until they become crispy and changed colour.
If you are using for binding purposes, store the moss while it is still moist.
If using as a straight media for sundews, you can store this dry. To reconstitute, add sufficient into a cover container, add a bit of water and shake. Repeat until it is moisten sufficiently. If too much water is added at one time, the dried moss will float up.
Alternatively, add sufficient water and allow the moss to rehydrate overnight - but there is a danger of adding too much water.

1 comment:
I want to faint leow...
Post a Comment